
This is part of a series on building a movie locator app in React Native. The first post is available here.
In my last post, I’d given the user the ability to navigate to a new page in the app. In this post, I’ll add a map on that new page. It will display the location of the theater that the user picked.
This is the first part of my app build which requires that you do something different depending on whether you’re working with Android or iOS. The installation instructions are here (as of 2020/03/23). I will be following the build configuration on Android, because I’m using an Android emulator (and a Linux OS, not a Mac, for my builds).
There are 6 steps given in the “build config for Android” section. I went through each of them one by one. I created a separate page which describes exactly what I did to prepare to add a map to my React Native app. Take a look there if you want to know about it in more detail.
In my previous post, I listed the code in MapsScreen.js, which is the page where my map should be displayed:
import React, { Component } from 'react';
import { Text, View } from 'react-native';

export default class MapsScreen extends Component {
    render() {
        return (<View style={[{ flex: 1, justifyContent: 'center' },
        { flexDirection: 'row', justifyContent: 'space-around', padding: 10 }]}>
            <Text>A map goes here</Text>
        </View>);
    }
}
But there’s no map there, yet! I need to add the code that will display a map.
Fortunately, the React Native maps project has an example app on GitHub. I took the time to download this example project, and create an entirely separate React Native project which uses its code. This helped me get my feet wet, and I knew where to look for the code that I needed to add a map: StaticMap.js is a page which displays a simple map. I’m going to take some of that code and add it to my own, as follows:
import React, { Component } from 'react';
import { View, Text } from 'react-native';
import MapView from 'react-native-maps';

export default class MapsScreen extends Component {
    render() {
        return (<View style={[{ flex: 1, justifyContent: 'center' },
        { flexDirection: 'row', justifyContent: 'space-around', padding: 10 }]}>
            <MapView
                initialRegion={{
                    latitude: 37.78825,
                    longitude: -122.4324,
                    latitudeDelta: 0.0922,
                    longitudeDelta: 0.0421,
                }}
            />
        </View>);
    }
}
This is almost the same as my previous render method. The only difference is that I’ve added a MapView component. It includes a mocked initialRegion property (latitude and longitude are static). I just want to get maps working, before adding a real initialRegion.
Unfortunately, when I tested this, I just saw an empty display, aside from the Maps title bar. Ugh! No error messages – just nothing! It was frustrating! Since there were no error messages, I wondered if there was something wrong with the display. The StaticMap example uses a MapView that is styled. So I copied that style, which just specified a width and height, and pasted it into my MapView, like this:
<MapView
    style={{width: 250, height: 250}}
    initialRegion={{
        ...
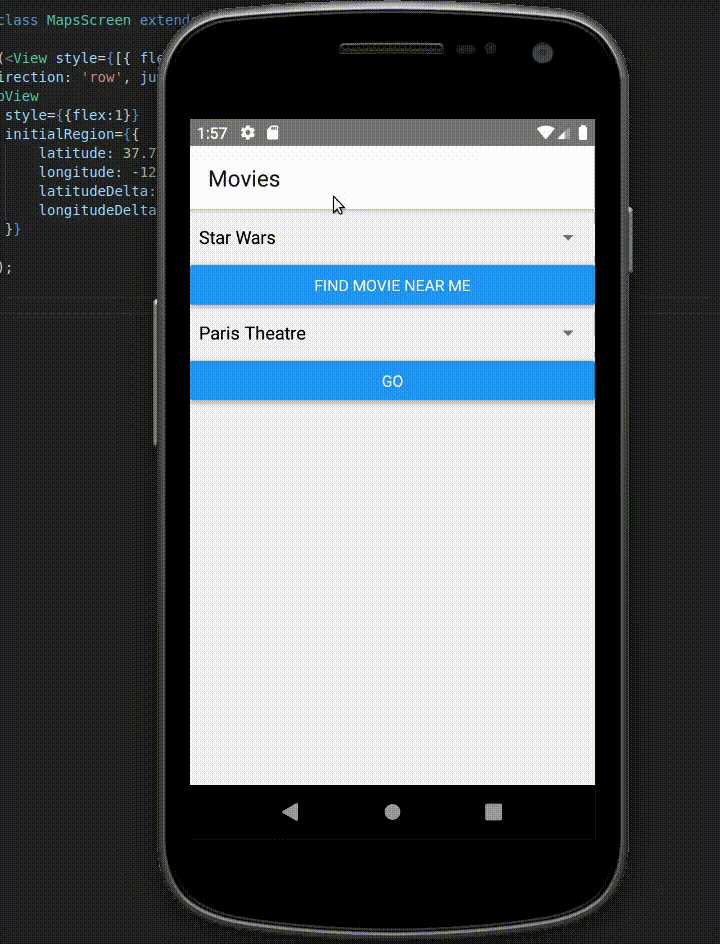
It worked!! I saw a map, but it looked cramped. I changed the style to {{flex:1}}, and the map filled the page! Excellent! Here’s the current behavior:
The source code for this example – App.js, MoviesScreen.js, and MapsScreen.js – is available online.